
Help & FAQs
Want to learn more? Give us a call today. 604-210-4600
(Note: Not Serving US Customers)
NVMS7000 Live View & Remote Playback Walkthrough
1. Download the NVMS7000

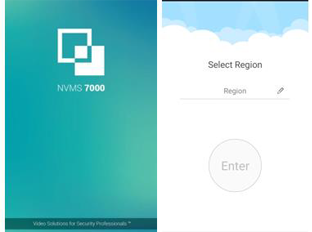
2. For the first time run, please select the Region first.
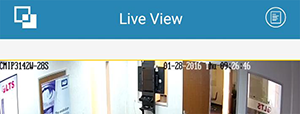
3. Main Screen should look like this:
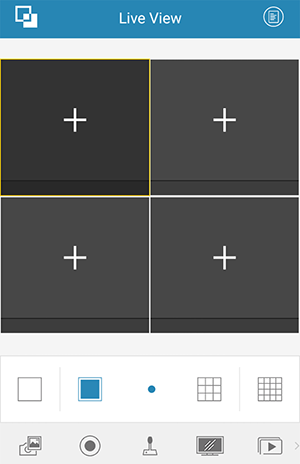
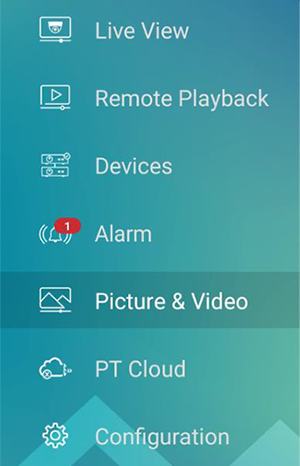
4. NOTE: LTS Logo = Main Menu
Adding IP Address to Device List
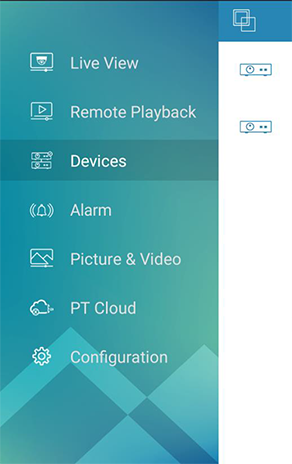
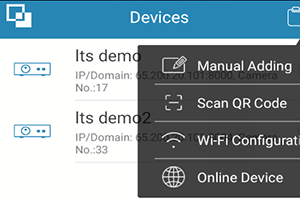
1. Click Logo (Side Menu Appears) → Devices
2. Select Manual Adding
3. Then, enter IP information:
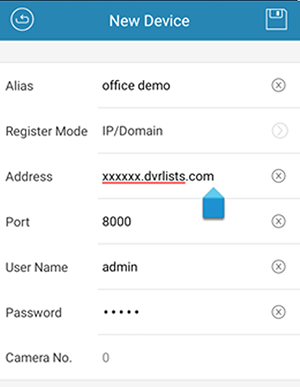
Alias: Location Nickname
Registration Mode: IP Domain
Address: IP / dvrlists address
Port: 8000 (Note: mobile app also required 8554)
User: admin (DVR username)
Password: ••••• (DVR password)
4. Click “Save icon”, then click “Start Live View” to see Live Video.
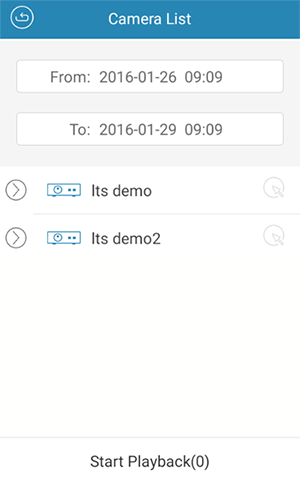
Select Camera List / Favorites (NVMS7000)
1. Press Camera List (Top Right Icon)
2. Select or de-select the camera from the list
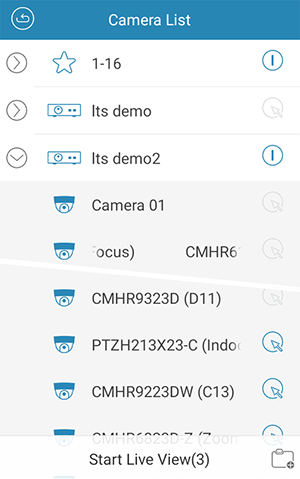
3. You can save the current selected camera to a Favorite Group
4. Click Start Live View to see the video
*Useful Tips
- Maximum amount of channels is 16CH. If you have more than 16, you can save as two different groups (1-16, and 17-32). Switch from one to the other.
- You can save multiple IP Cameras as one favorite group
- For slow internet speed connection, you can use Favorite to reduce camera connections.
Remote Playback
1. Go to Camera List (top right icon)
2. Use the timeline to drag between times
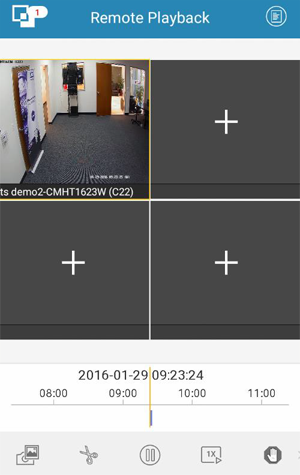
Note: Recap Video Button is designed for short moment backup. Dragging the timeline will cause recording to stop. If you try to back up for a long period of time, use PC to do the backup instead.
Live View → PTZ Control
1. Select toggle switch from bottom menu
2. Drag finger on screen to move camera in desired direction
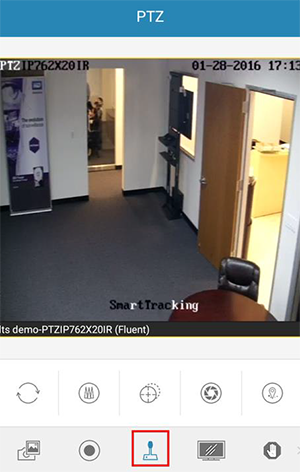
3. Select Preset function
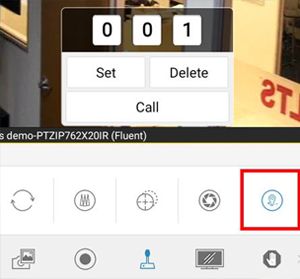
4. Adjust the quality according to the performance of your network and phone hardware
Change Image Quality
1. Click on Image Quality icon (fourth icon from bottom)
2. Select Custom
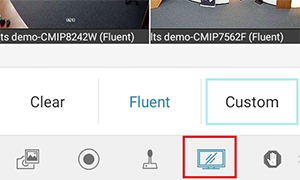
3. Adjust the quality according to the performance of your network and phone hardware
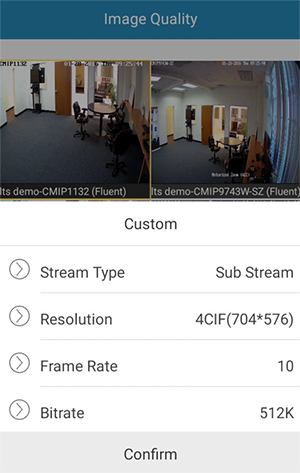
Note: For more details, refer to help section. Configuration → Help
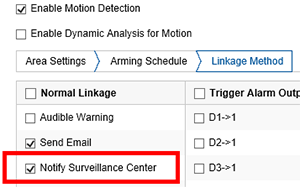
Alarm (Push Notifications)
Note: In order to use this feature, your IP camera/ DVR/ NVR must enable Motion Detection or VCA function, and Notify Surveillance Center must enable it.
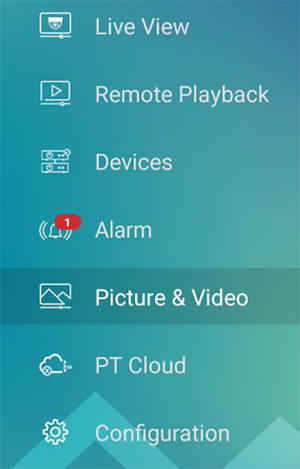
1. Click on LTS Logo, and select Alarm from side menu
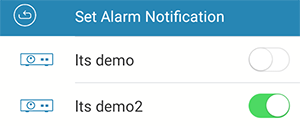
2. Choose which Camera to enable Push Notification
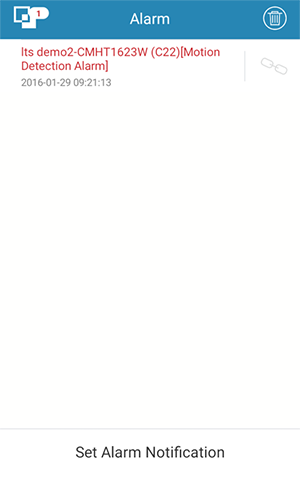
3. You’ll view an Alarm Linkage in red
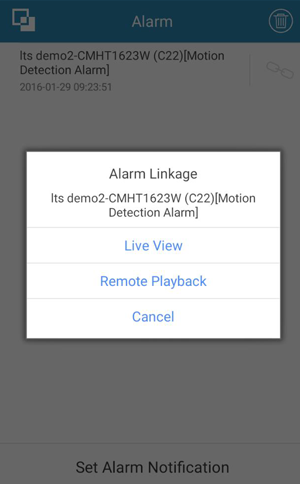
4. Press Alarm Linkage and Choose one of options given.
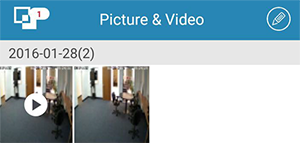
Picture and Video
1. With Picture and video Management Interface, you can view and manage local video file and pictures that you manually record (clip) and capture in Live View and Remote Playback interface. Pictures and video files are stored in the NVMS7000 directory of micro SD card. You can also share pictures and videos to other available applications.
2. Share or Delete video using the Pencil icon in top right.
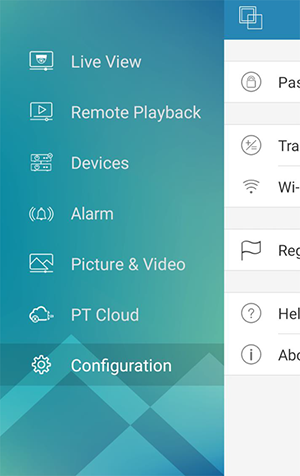
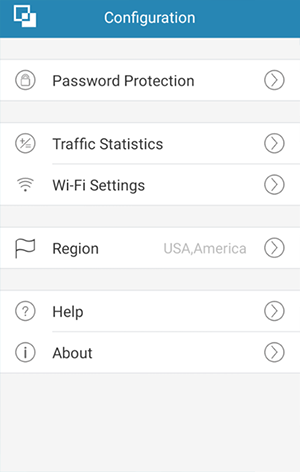
Help / Manual
1. You can find the User Manual from your Mobile App
2. Go to Menu → Configuration → Help
Request a Consultation
Protect your home with security that goes the extra mile to keep you aware and in control — from anywhere!